Overview
This document describes the steps to manually import and install PAN-OS on a Palo Alto Networks device from the CLI.
Steps
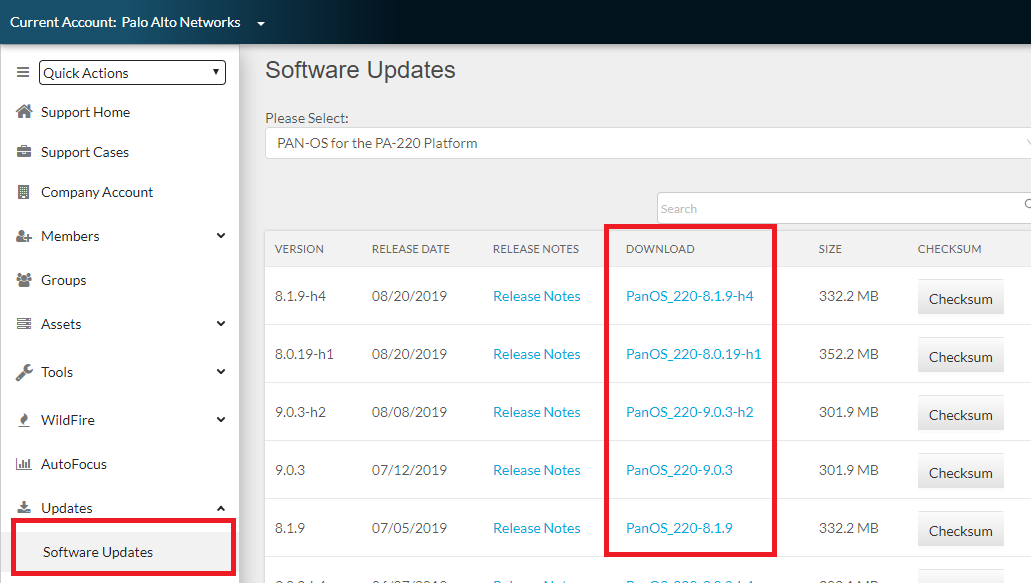
- Download the PAN-OS image from the Palo Alto Networks Support Portal
Note: Download the base image if you are upgrading to a new revision along with the image you are upgrading to. (ex. If you are on 8.0.5 and going to 8.1.10, download 8.1.0 and 8.1.10)
- Place the downloaded image on an SCP or TFTP server that can be accessed from the firewall management port
- From the CLI of the firewall, import via SCP or TFTP
If using SCP > scp import software from <value> Source (username@host:path)
> scp import software from user1@10.46.48.50:/home/user1/scp-test/PanOS_3200-9.0.0
user1@10.46.48.50's password:
PanOS_3200-9.0.0                              100% 1288MB   9.5MB/s   02:15
PanOS_3200-9.0.0 saved
If using TFTP > tftp import software from <tftp host> file <Source path>
> tftp import software from 10.10.10.10 file PanOS_200-5.0.5
mode set to octet
Connected to 10.10.10.10 (10.10.10.10), port 69
getting from 10.10.10.10:PanOS_200-5.0.5 to /tmp/cli.tmp.MX0Ilu [octet]
Received 189492288 bytes in 269.5 seconds [5624095 bit/s]
- Once uploaded, you can then initiate an install.
> request system software install version
 8.1.10   8.1.10
 8.1.9    8.1.9
 9.0.0    9.0.0
 9.0.3    9.0.3
 <value>  Upgrade to a software package by version
- Reboot