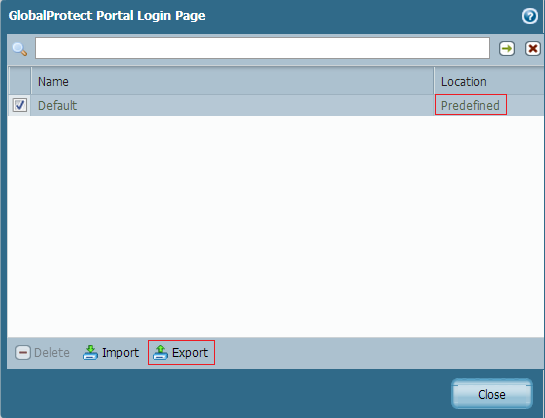
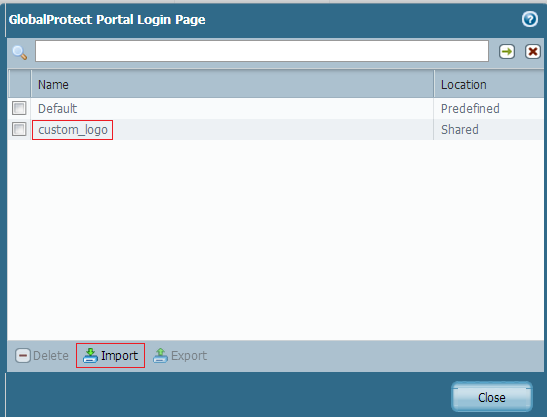
- Navigate to Device > Response pages and click GlobalProtect Portal Login Page.
- Export the Predefined page.

3. Modify the HTML code by adding the company logo as shown below.
The code in italic type shows the URL where the image is located.
<HTML>
<HEAD>
<TITLE>Palo Alto Networks - GlobalProtect Portal</TITLE>
<meta http-equiv="Content-Type" content="text/html; charset=iso-8859-1">
<link rel="stylesheet" type="text/css" href="/styles/falcon_content.css?v=@@version">
<img src="http://cdn.slidesharecdn.com/profile-photo-Palo_Alto_Networks-96x96.jpg?1382722588"/>
<style>
td {
font-family: Verdana, Arial, Helvetica, sans-serif;
font-weight: bold;
color: black; /*#FFFFFF; */
}
.msg {
background-color: #ffff99;
border-width: 2px;
border-color: #ff0000;
border-style: solid;
padding-left: 20px;
padding-right: 20px;
max-height: 150px;
height: expression( this.scrollHeight > 150 ? "150px" : "auto" ); /* sets max-height for IE */
overflow: auto;
}
.alert {font-weight: bold;color: red;}
</style>
</HEAD>
<BODY bgcolor="#F2F6FA">
<table style="background-color: white; width:100%; height:45px; border-bottom: 2px solid #888888;">
<tr style="background-image:url(/images/logo_pan_158.gif); background-repeat: no-repeat">
<td align="left"> </td>
</tr>
</table>
<div align="center">
<h1>Palo Alto Networks - GlobalProtect Portal</h1>
</div>
<div id="formdiv">
<pan_form/>
</div>
</BODY>
</HTML>
4. Import the modified response page by navigating to Device > Response Pages > Global Protect Portal Login Page.

5. Go to Network > GlobalProtect > Portals and, on the General Tab, select the Custom Login Page or import the modified page directly here.

6. The GlobalProtect Portal Login page with the custom logo is displayed as shown below.

Note: Ensure that the image source URL in the HTML code is hosted from a server that is accessible to the remote GlobalProtect users.
See also: Customizing Response Pages
owner: gchandrasekaran